How to Time Multi-Step Lab Protocols
Summary
At a glance: break the method into phases, attach timers to the work that must not slip, use sync when the same clocks should follow you across steps, and use groups so long protocols stay scannable. Plus: what to do when you are pulled away mid-run.
Running a multi-step protocol—molecular biology, cell culture, analytical prep, or anything with tight coupling between “add reagent,” “incubate,” and “read/move”—means you are always managing attention as much as minutes. A clear workflow keeps the critical path visible: the sequence where delay or wrong order actually changes the outcome.
Compare tools for multi-step protocol timing
Score | Tool | Cost / access | Usability | Protocol tracking | Phone app | Lab tools |
|---|---|---|---|---|---|---|
| 5/5 | Purpose-built protocol runner: named steps, multiple timers, sync across steps, offline use, and one-link sharing. | 4/5 | 5/5 | |||
| 4/5 |  ELN and inventory platform—you can run structured, timed workflows in the web app on desktop; no bench-focused mobile protocol runner. | 2/5 | 3/5 | |||
| 3.5/5 | Flexible docs and databases for lists; you can outline steps but there is no lab-specific timing layer. | 5/5 | 4/5 | |||
| 3/5 |  Digital lab notebook for compliance and archiving—timed notebook workflows on desktop; not a native phone app for live bench protocol timing. | 3/5 | 2.5/5 | |||
| 2/5 |  Excel & Google Sheets Excel & Google SheetsPlan durations in a grid and share files—no native running timers or step workflow while you work. | 5/5 | 3.5/5 | |||
| 1.5/5 |  Timer apps Timer appsPhone or kitchen timers—cheap and immediate, but no named steps, sync across phases, or shareable protocols. | 4/5 | 4.5/5 |


Strong Mixed Weak
Scores reflect bench fit for timed, multi-step protocols, not a full product review—use them alongside your own pilot on one real assay.
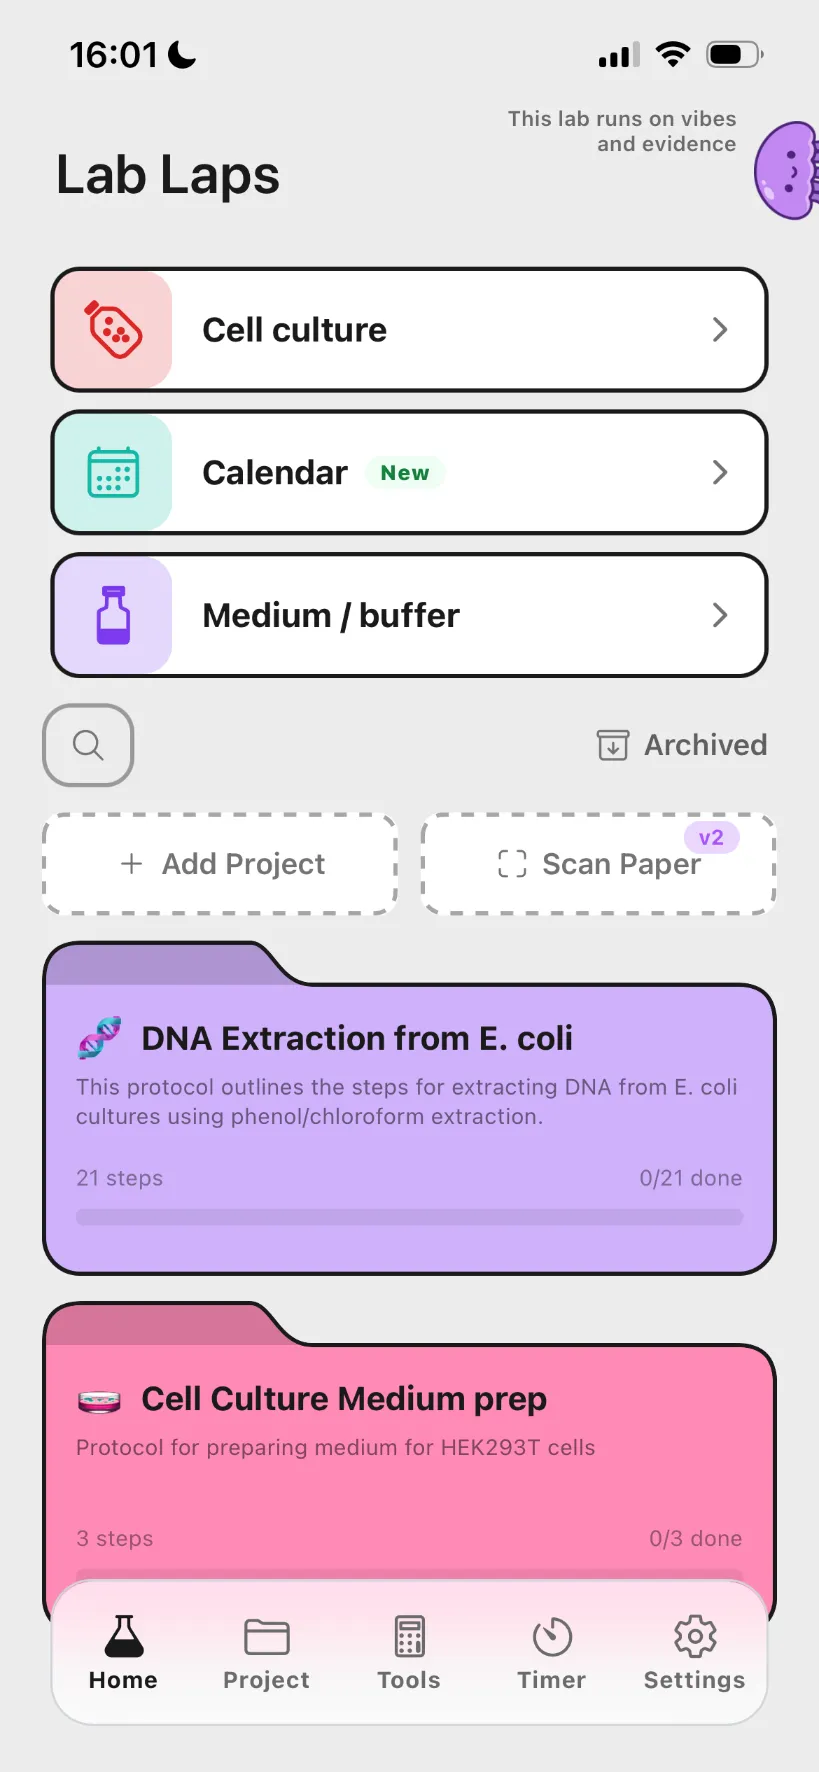
1. Create a project per protocol (or per family of runs)
Create one project per repeatable protocol (e.g. “qPCR run,” “Nuclear extract prep,” “HPLC sample workup”). That bundles steps and timers so you reuse the same mental layout each time instead of improvising from scratch.
2. Map phases before you map timers
List phases the way your lab thinks about them: lysis → clarification → binding → wash → elution; or primary stain → wash → secondary → wash → mount. Each step in your timer app should correspond to a phase where either:
- something must happen before a deadline (enzyme activity, live-cell limits), or
- the next phase should not start until a minimum time or condition is met.
If a line in the written protocol is “optional pause,” decide whether it deserves its own step or a note inside an adjacent step—ambiguity here causes inconsistent pauses across people.
3. Add timers to the first step (then sync)
In the first step, add one timer per quantity you must track continuously—e.g. Denature 30s, Anneal 30s, Extend 60s for a simplified PCR mental model, or Shake 10 min, Rest 5 min for extractions. Set realistic durations; pad slightly only when the method allows (over-tight timing increases stress errors).
Enable Sync timers in project settings so the same timer set remains meaningful as you move through steps 2, 3, 4… You start once where the protocol begins; you do not keep rebirth-ing timers every time you advance a phase—unless your method truly resets clocks (then model that explicitly).
4. Use groups for long protocols
For methods with obvious blocks (“Day 1: fixation,” “Day 2: staining”), add groups and nest steps. Collapsing finished blocks reduces visual noise so the active phase stays obvious—especially when you return after a meeting or a failed instrument run.
5. Parallel vs serial work (avoid fake multitasking)
Some steps are parallel (incubation A runs while you prepare B). Others are serial (you cannot load the reader until incubation finishes). If two timers represent independent parallel tracks, label them that way in step descriptions so nobody assumes false dependencies.
6. When something interrupts you
- Note the current step in your ELN or bench sheet when you walk away.
- If your timer app reflects true protocol position, returning is faster than reconstructing from memory.
- For long incubations, record start time in the notebook as backup—apps and power matter less than an audit-friendly timestamp in regulated environments.
7. Quality habits that pair well with timing discipline
- Pre-weigh or pre-aliquot what you can before time-critical segments.
- Stage reagents in order of use when the method is sensitive to delay between additions.
- One owner per critical segment on shared runs so two people do not both think “the other one advanced the step.”
Frequently asked questions
Do I need a separate timer for every line of the SOP?
No. Merge lines that are one continuous action with one deadline. Split when independent timers truly run in parallel or when missing a boundary changes the biology or chemistry.
Is sync always correct?
Use sync when the same clocks should carry forward across protocol phases. If each phase has fresh countdowns unrelated to the previous step, you might instead treat those as new timers—your written method is the guide.
Lab Laps keeps experiments organized with protocol-ready timing, autosave, and optional cloud sync. Create a project and try it on your next multi-step run.