How to Track a Protocol in the Lab — The Complete Guide for Researchers
Summary
- Protocol tracking keeps step order, timing, and parallel work aligned so runs stay comparable—within your bench and across the lab.
- Paper and generic timers are fine for simple jobs; they break when steps overlap, repeat in cycles, or when everyone needs the same version of the method.
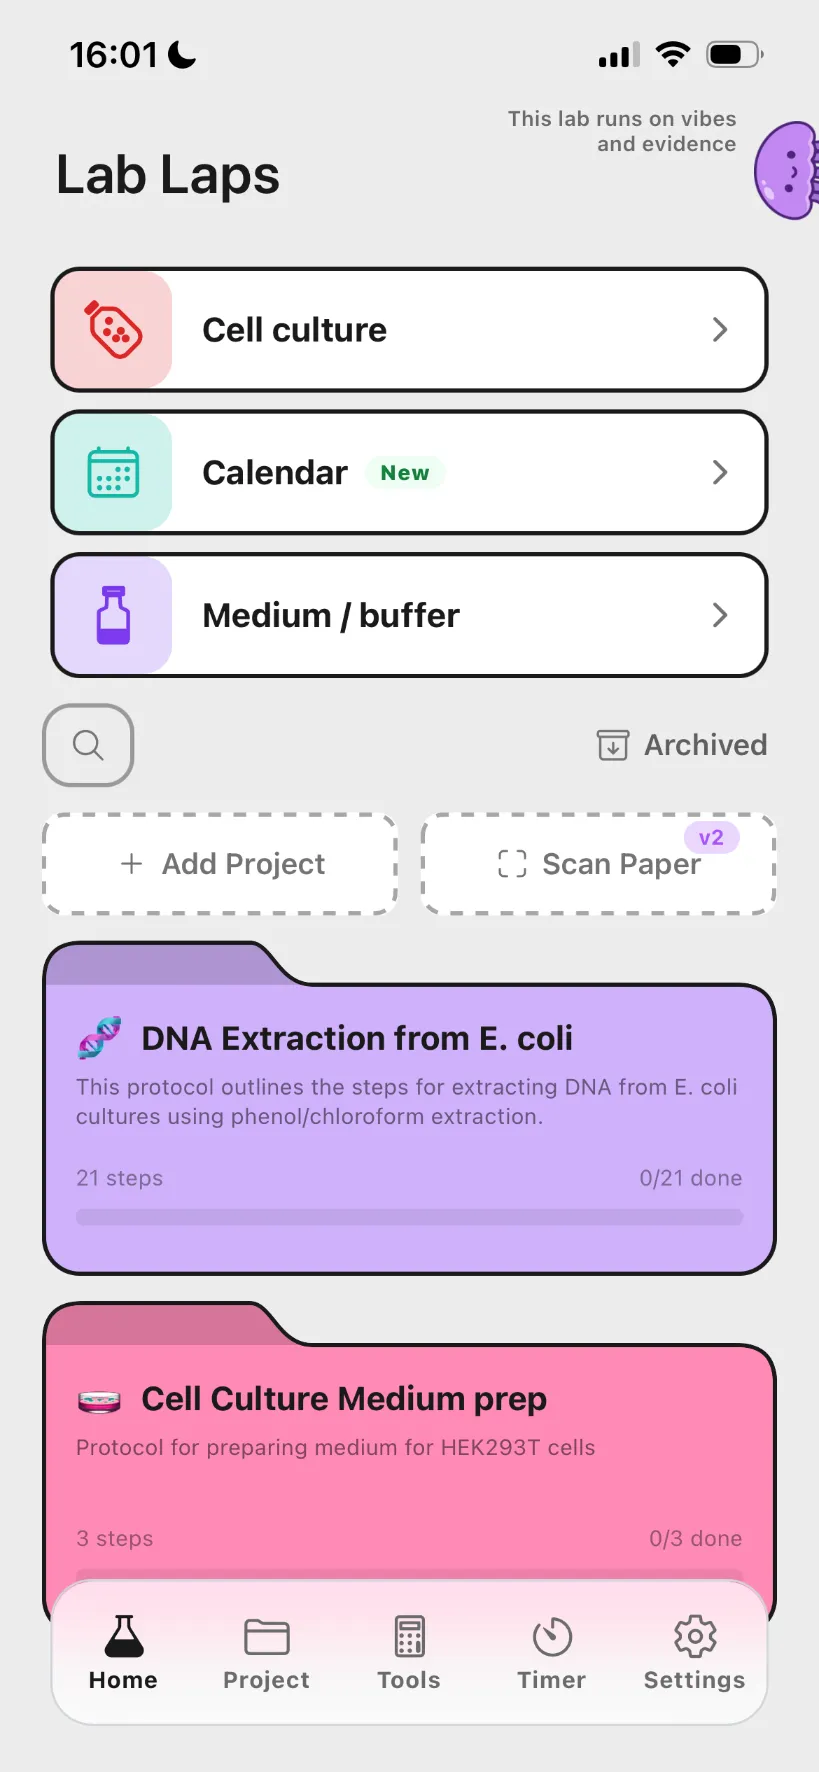
- Lab Laps is a strong fit for lab protocol tracking: named steps, multi-timers, sync, sharing, and offline use in one workflow.
Mid-experiment, protocol tracking is the difference between a controlled wash series and a phone alarm flashing 00:00 with no context. This guide walks through what to capture, how teams usually work, when to upgrade from paper, and—once you know what you need—how common tools compare. We finish with mistakes to avoid and a simple workflow you can adopt this week.
What “protocol tracking” means in the lab
Protocol tracking is not just writing down what you did afterward. It is keeping the active method—ordered steps, intended durations, and what is running right now—clear enough that an interruption, a new trainee, or a parallel incubation does not derail the run.
Good tracking supports three goals at once:
- Reproducibility — someone else (or you, three months later) can repeat the same sequence with the same timing assumptions.
- Coordination — when two hands or two benches share one method, everyone references the same version of the steps.
- Safety and quality — critical waits, washes, and readouts stay tied to the correct step, not a generic buzzer.
If you only need a single reminder (“pull the gel in an hour”), a sticky note can be enough. Tracking becomes essential when steps chain, overlap, repeat in cycles, or branch (e.g., sample A waits while B gets a different treatment).
What to record so runs stay comparable
Before you pick a tool, decide what your lab actually needs on the bench. Most groups capture some mix of the following:
| Focus | Why it matters |
|---|---|
| Ordered steps | Reduces skipped or reordered steps under distraction. |
| Time per step | Incubations and washes define biology—ambiguous timers undermine comparisons. |
| Protocol version | “The 2024 Western” vs “the old buffer recipe” should not live only in someone’s head. |
| Parallel lines | Different tubes, plates, or animals on offset schedules need separate mental “tracks.” |
| Who did what | Handoffs and training are smoother when the method—not a verbal summary—is the source of truth. |
You do not need enterprise software to hit the first two; you do need a system that survives real bench chaos once complexity goes up.
Solo runs vs shared methods
Solo tracking is about keeping your future self honest: named steps, realistic durations, and notes where the protocol is fussy (e.g., “do not let wells dry”).
Shared methods add another layer: everyone must execute from the same definition of the protocol. That usually means a single canonical copy—notebook page, shared doc, ELN entry, or Lab Laps project—not a chain of Slacks that half the lab never reads.
If only one person ever runs the assay, verbal handoffs can limp along. As soon as two people run it—or one person runs two overlapping instances—ambiguous timers and unversioned notes become a liability.
From paper to digital: when to level up
Paper and a wall clock are valid for short, linear workflows. Consider moving to a structured, time-aware system when:
- Steps overlap (one incubation runs while you prepare the next plate).
- You cycle through blocks (repeat washes, periodic feeds).
- Several people must follow the same SOP without drift.
- You run multiple protocols in parallel and cannot rely on memory for “which timer belongs to which step.”
The question is not “paper vs software” in the abstract—it is whether your current setup still gives clear step context at the moment the timer fires.
Compare lab protocol tracking tools
Score | Tool | Cost / access | Usability | Protocol tracking | Phone app | Lab tools |
|---|---|---|---|---|---|---|
| 5/5 | Purpose-built protocol runner: named steps, multiple timers, sync across steps, offline use, and one-link sharing. | 4/5 | 5/5 | |||
| 4/5 |  ELN and inventory platform—you can run structured, timed workflows in the web app on desktop; no bench-focused mobile protocol runner. | 2/5 | 3/5 | |||
| 3.5/5 | Flexible docs and databases for lists; you can outline steps but there is no lab-specific timing layer. | 5/5 | 4/5 | |||
| 3/5 |  Digital lab notebook for compliance and archiving—timed notebook workflows on desktop; not a native phone app for live bench protocol timing. | 3/5 | 2.5/5 | |||
| 2/5 |  Excel & Google Sheets Excel & Google SheetsPlan durations in a grid and share files—no native running timers or step workflow while you work. | 5/5 | 3.5/5 | |||
| 1.5/5 |  Timer apps Timer appsPhone or kitchen timers—cheap and immediate, but no named steps, sync across phases, or shareable protocols. | 4/5 | 4.5/5 |


Strong Mixed Weak
Scores reflect bench fit for timed, multi-step protocols, not a full product review—use them alongside your own pilot on one real assay.
Setting up a tracking habit (before you buy anything)
A minimal habit works for many labs:
- Name every timed step in the written protocol (not only durations).
- One source of truth for the live version of the method—no competing photocopies.
- Separate tracks for concurrent experiments (different sheets, projects, or notebooks—never one undifferentiated alarm list).
- Note deviations next to the step (what changed and why) so the log stays interpretable.
If you already do this on paper, moving to a Lab Laps project is mostly digitizing a discipline you already have—with linked timers and optional sharing.
Mistakes to avoid
| Mistake | Fix |
|---|---|
| One generic timer for many steps | Named steps with per-step timers |
| No clear protocol version | Save each method as a project you can reuse |
| Verbal handoffs only | Share the project link so everyone reads the same steps |
| Juggling parallel experiments from memory | Run separate projects for concurrent work |
Putting it into practice this week
Pick one recurring protocol that causes friction—usually something with multiple waits or handoffs. For that protocol only: write named steps with durations, assign a single canonical home (doc or Lab Laps project), and run the next two experiments without changing the system mid-stream. Adjust once you know what broke.
If the workflow sticks, roll the same pattern to the next assay. Small, consistent tracking beats an elaborate system that nobody opens at the bench.
Try Lab Laps — start fast, run lab protocols with shared multi-step timers, and keep your team on the same page.